

Roofing plays a crucial role in protecting any industrial, commercial, or residential building from weather, heat, and long-term structural damage. However, even the best quality sheets will not perform well if they are not installed correctly. A proper roofing sheet installation process ensures durability, leak-proof performance, safety, and long service life.
Modern metal roofing sheets, such as colour-coated sheets, profile sheets, decking sheets, and standing seam roofing systems, are designed for fast installation. Still, they must be fixed using the correct method, proper tools, and safe working practices. Incorrect laying, poor alignment, or improper fastening can lead to leakage, corrosion, and structural problems over time.
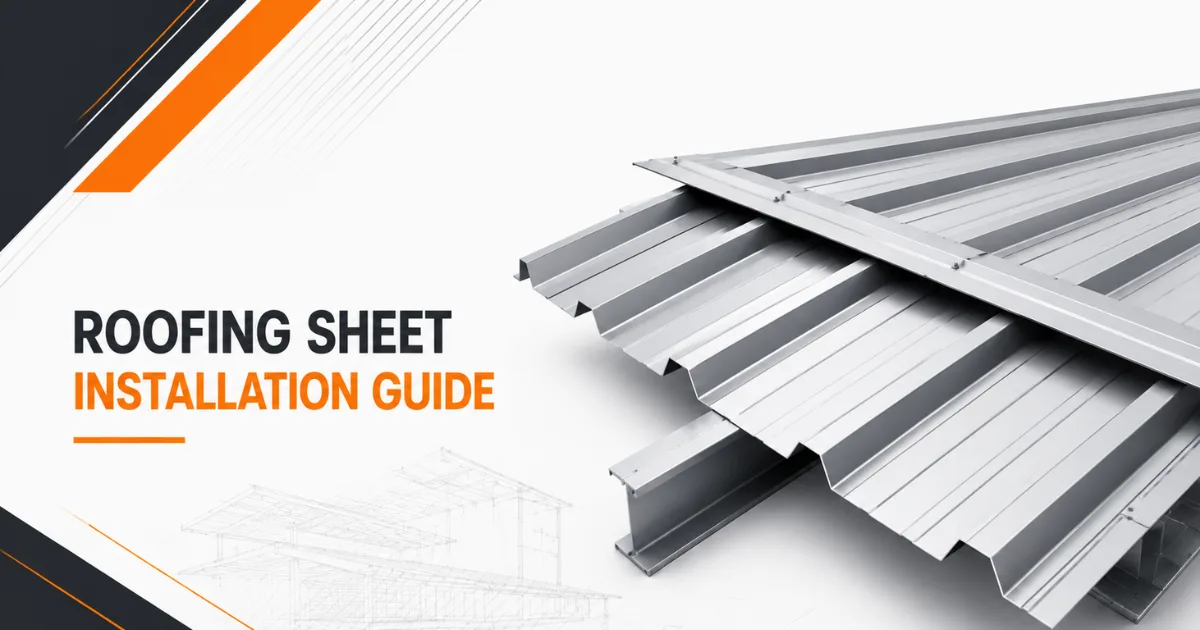
This roofing sheet installation guide explains the complete step-by-step procedure used in industrial and commercial projects. The steps below follow standard installation practices recommended for high-quality roofing sheets used in factories, warehouses, sheds, commercial buildings, and infrastructure projects.
Each step is explained in simple language so that contractors, engineers, fabricators, and site workers can understand the process easily.
Cutting of Sheets On-Site
Use Proper Tools for Cutting Roofing Sheets
During roofing sheet installation, sheets often need to be cut according to the roof size and layout. Cutting should always be done using proper tools such as electric shears, nibblers, or circular saws with suitable blades. These tools ensure clean edges and prevent damage to the coating of the sheet.
Using gas cutters or welding torches should be avoided because they can burn the protective coating of the sheet. When the coating gets damaged, the sheet may start rusting earlier than expected. Clean cutting helps maintain the strength and durability of the roofing material.
Measure Carefully Before Cutting
Before cutting, the length and width must be measured correctly according to the roof design. Accurate measurement reduces material wastage and ensures proper fitting during the roofing sheet installation process.
Always mark the cutting line clearly and cut slowly to avoid bending the sheet. Bent or damaged sheets should not be used for installation, as they may affect the alignment of the roof.
Remove Metal Dust After Cutting
After cutting, small metal particles may remain on the sheet surface. These particles can cause rust stains if not removed. Always clean the sheet using a soft cloth or blower before fixing it on the roof. This small step helps maintain the finish and life of the roofing sheets.
Laying of Sheets
Start from the Correct End of the Roof
Proper laying is one of the most important parts of roofing sheet installation. Sheets should always be laid from the edge opposite to the direction of the prevailing wind. This prevents water from entering through the overlaps during rain.
The first sheet must be placed correctly because all other sheets will follow its alignment. If the first sheet is not straight, the entire roof may look uneven, and gaps may appear between sheets.
Maintain Straight Alignment
While laying the sheets, ensure that the edges remain straight along the roof slope. Use chalk lines or guide strings to keep the alignment correct. Straight laying not only improves appearance but also prevents leakage.
During large projects, installers should check alignment after every few sheets. Small mistakes, if ignored, can create bigger problems later.
Allow Proper Overhang at the Eaves
Sheets should extend slightly beyond the roof edge to allow proper drainage of rainwater. This overhang prevents water from flowing back into the building. Correct overhang also protects the wall and structural members from moisture damage.
Side and End Laps
Maintain Correct Side Lap
Side lap refers to the overlap between two sheets placed next to each other. During roofing sheet installation, a proper side lap is necessary to prevent water leakage. Usually, one rib overlap is recommended for most profile sheets, but the exact lap may depend on sheet design and roof slope.
If the side lap is too small, water may enter during heavy rain. If the lap is too large, it may affect the appearance and increase material usage.
Ensure Proper End Lap
The end lap is the overlap between two sheets placed one above another along the slope. This is required when the roof length is more than the sheet length. The end lap should be sufficient to stop water from flowing inside the joint.
Sealants or fasteners may be used at the end lap to improve waterproofing. Proper end lap is especially important for industrial roofing, where heavy rain or wind is common.
Use Fasteners at Overlap Points
Fixing screws at the correct positions helps hold the sheets firmly together. Fasteners should be tightened properly but not over-tightened, as excessive force may damage the sheet coating or washer.
Correct fastening ensures that the roofing system remains strong even during wind or storm conditions.
Always Work Safely
Follow Safety Rules During Roofing Sheet Installation
Safety must always be the priority during roofing sheet installation. Roofing work is done at height, so workers must follow proper safety guidelines. Safety belts, helmets, gloves, and non-slip shoes should always be used on site.
Loose tools or materials should not be kept on the roof, as they may fall and cause injury. A safe working environment helps complete the project without accidents.
Use Proper Ladders and Platforms
Workers should use strong ladders, scaffolding, or platforms while installing roofing sheets. Never stand directly on unsupported sheets, as they may bend or slip. Always step on the purlin line where the sheet has support. Proper support ensures both safety and correct installation.
Avoid Installation in Extreme Weather
Roofing should not be installed during heavy rain, strong winds, or storms. Wet surfaces can become slippery and dangerous. Wind can also lift the sheet and cause loss of control during fixing. Working in safe weather conditions improves both safety and the quality of installation.
Create a Purlin Framework
Importance of Purlins in Roofing Sheet Installation
Purlins are horizontal structural members that support the roofing sheets. A strong purlin framework is essential for proper roofing sheet installation. Without correct spacing and alignment of purlins, the sheets may bend or vibrate. Purlins should be fixed firmly to the main structure before laying the sheets. The spacing between purlins must follow the design specifications.
Check Level and Alignment
Before installing sheets, the purlins should be checked for level and straightness. Uneven purlins will cause uneven roofing. This may lead to water collection on the roof, which can damage the sheet over time. Proper alignment ensures that the roofing sheets sit perfectly on the structure.
Use a suitable fastening system
The type of fastener used for fixing sheets to purlins depends on the material of the purlin. Self-drilling screws, bolts, or special fasteners may be used for steel structures.
Correct fastening provides strength and keeps the roof stable during wind or heavy rain.
Fix Sheets
Fix Sheets in Correct Sequence
During roofing sheet installation, sheets should be fixed in sequence from one side to the other. This helps maintain proper overlap and alignment. Each sheet should be positioned correctly before tightening the screws. Once fixed, moving the sheet may damage the hole or coating.
Use Correct Fasteners and Washers
Fasteners with rubber or EPDM washers are commonly used for roofing sheets. These washers prevent water from entering through the screw hole.
Screws should be tightened just enough to hold the sheet firmly. Over-tightening may damage the washer, while loose screws may cause leakage.
Fix at Recommended Points
Sheets should be fixed at the recommended rib or valley positions, depending on the sheet profile. Following the correct fixing pattern ensures strength and proper load distribution.
Correct fixing also reduces vibration and noise during the wind.
Ridge Caps
Purpose of Ridge Caps
Ridge caps are used at the top of the roof where two slopes meet. They cover the joint and prevent water from entering the roof. During roofing sheet installation, ridge caps must be fixed carefully to ensure complete protection.
Ridge caps also give a neat and finished look to the roof.
Fix Ridge Caps with Proper Overlap
Ridge caps should overlap each other to avoid gaps. Sealants may be used if required to improve waterproofing.
Fasteners should be placed at proper intervals to keep the ridge cap secure. Loose ridge caps may create noise during wind or allow water leakage.
Check Alignment After Fixing
After fixing ridge caps, the entire roof should be checked from a distance. Proper alignment improves both the appearance and performance of the roofing system.
Protrusions
Handle Roof Openings Carefully
Roofs often have openings for chimneys, vents, skylights, or pipes. During roofing sheet installation, special care is required around these protrusions. Improper sealing may cause leakage. Sheets should be cut carefully around the opening to ensure proper fitting.
Use Flashings for Protection
Flashings are used around protrusions to stop water from entering the gap between the sheet and the opening. Proper flashing installation is essential for long-lasting roofing performance. Sealants may also be applied to improve waterproofing.
Check for Water Leakage Points
After installation, all protrusion areas should be checked carefully. These are the most common places where leakage may occur if not installed correctly. Proper finishing around protrusions ensures the roof remains safe in all weather conditions.
Conclusion
A correct roofing sheet installation process is the key to long-lasting, strong, and leak-proof roofing. Every step from cutting and laying sheets to fixing ridge caps and sealing protrusions must be done carefully using proper tools and safety practices.
High-quality roofing sheets deliver the best performance only when they are installed on a strong purlin framework, fixed with the right fasteners, and aligned correctly. Following a proper installation guide helps avoid future repairs, reduces maintenance costs, and ensures the roof performs well for many years.
By following the step-by-step method explained in this guide, contractors and builders can achieve safe, durable, and professional roofing results for industrial, commercial, and residential projects.