

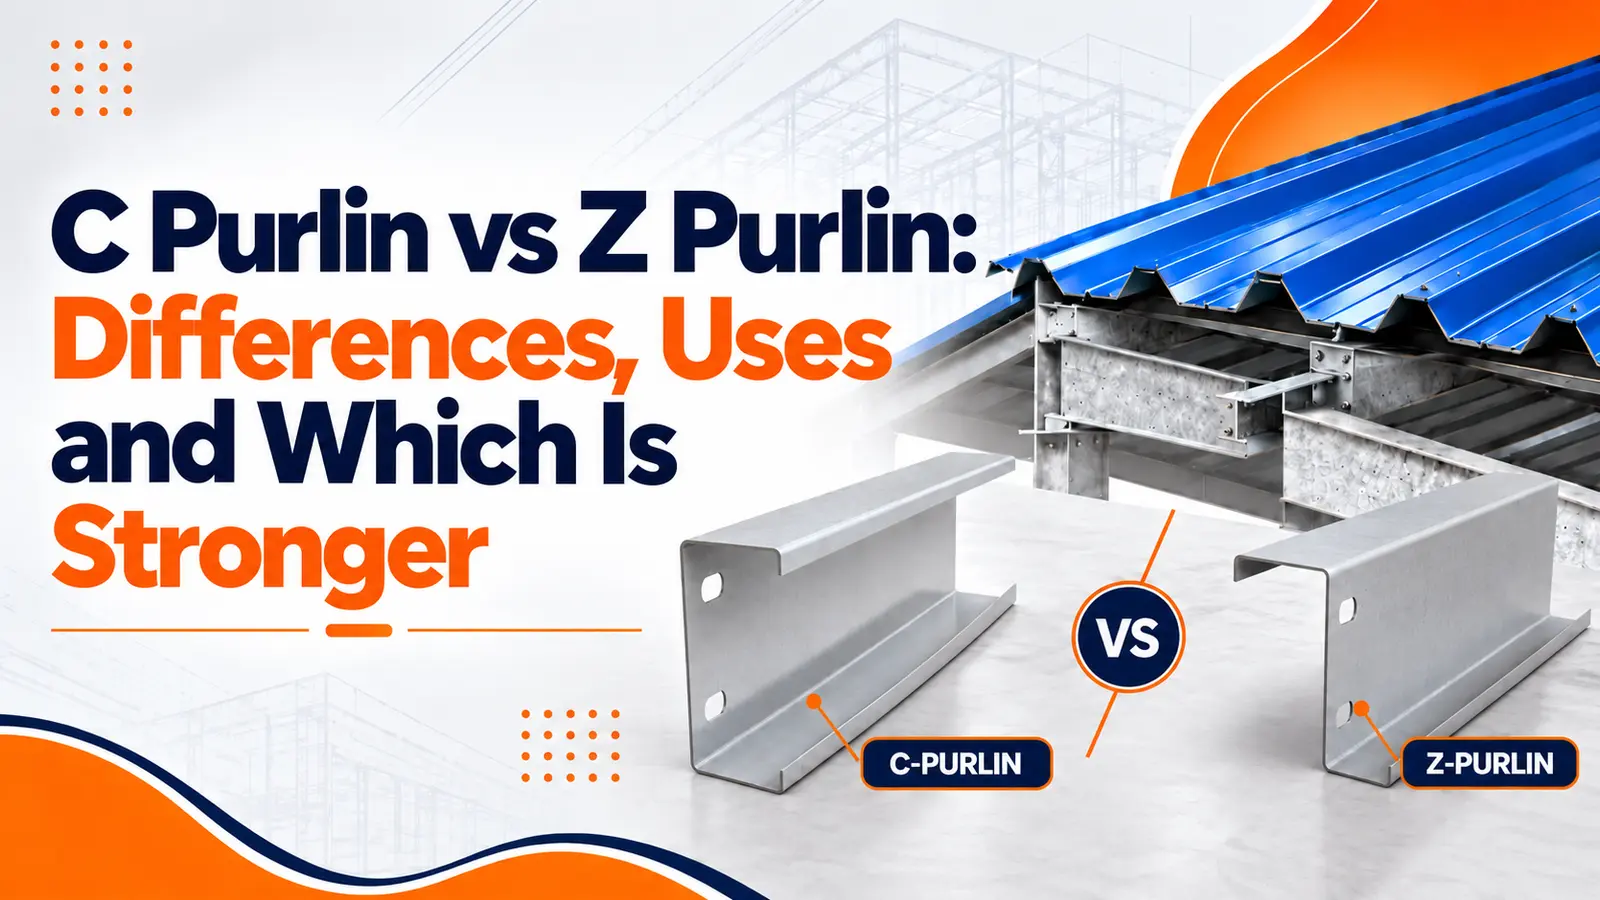
Choosing the right purlin is an important part of designing a strong and durable roof. Purlins support roof sheets and transfer their loads to the main structural frame. Two common options in steel buildings are C purlins and Z purlins. Although they look similar, their shapes, connections and applications differ.
Understanding C Purlin vs Z Purlin helps you select the right profile for your building. The best option depends on the roof span, structural load, building layout and installation requirements. Let us explore their key differences, common uses and relative strength.
What Is a C Purlin?
A C purlin is a cold-formed steel section with a cross-section shaped like the letter C. It has a web, two flanges and small return lips along the flange edges. These lips improve stiffness and help the section resist local buckling.
C purlins are commonly used to support roofing sheets and wall cladding. They are available in different sizes and thicknesses to suit various structural needs.
One of their main advantages is their simple shape. C purlins are easy to cut, handle and install. They can also be connected to steel frames using suitable cleats, bolts or other specified fasteners.
C purlins are often used in smaller buildings and structures with simple roof layouts. However, their suitability depends on the actual span, loads and design specifications rather than building size alone.
Common Uses of C Purlins
- Supporting roof sheets in small industrial buildings and workshops.
- Providing framing for walls, doors and windows.
- Supporting roof edges, eaves and cladding.
- Creating floor joists or mezzanine framing where the design permits.
- Serving as roof purlins in simple, single-span structures.
What Is a Z Purlin?
A Z purlin is a cold-formed steel section shaped like the letter Z. Its two flanges point in opposite directions, giving it an asymmetrical profile.
This shape allows Z purlins to overlap at supports. When properly designed and connected, the overlap helps create continuity across multiple spans. This can improve structural efficiency and reduce deflection compared with certain supported arrangements.
Z purlins are widely used in industrial buildings, warehouses, factories and pre-engineered building systems. They are particularly useful when a roof has several spans and requires a consistent purlin arrangement.
Their overlapping design can also make transport and installation more efficient in suitable projects. However, the benefits depend on the connection details, purlin dimensions and structural calculations.
Common Uses of Z Purlins
- Supporting roofing sheets on large industrial buildings.
- Providing roof framing for warehouses and factories.
- Supporting roofs in multi-span steel structures.
- Forming part of pre-engineered building systems.
- Providing efficient support for long roof runs where continuous design is suitable.
C Purlin vs Z Purlin: Key Differences
The main difference between C purlins and Z purlins is their cross-sectional shape. This affects how they connect, where they are used and how they perform under load.
Shape and Design
C purlins have a symmetrical C-shaped profile, with both flanges extending in the same general direction. This makes them straightforward to position and connect in many framing arrangements.
Z purlins have an asymmetrical profile, with the flanges pointing in opposite directions. This allows one purlin to overlap another at a support.
Which is better? C purlins are often convenient for simple framing, while Z purlins offer an advantage when overlapping connections are part of the structural design.
Installation and Connections
C purlins are commonly installed end-to-end. Each section is connected to the supporting frame using suitable cleats or brackets. This arrangement is useful for straightforward roof layouts.
Z purlins can be lapped over supports, allowing adjacent sections to work together as a continuous system. The overlap length, bolt arrangement and support details must be designed correctly to achieve the intended performance.
Neither profile is automatically easier to install in every situation. Access, roof geometry, section size and the installation method all affect the work involved.
Span and Structural Performance
C purlins are often used in simple-span applications and smaller framing systems. They can also be suitable for larger spans when their dimensions, thickness and support conditions are designed accordingly.
Z purlins are particularly useful in multi-span roofs because their overlapping connections can improve continuity. This may help control deflection and distribute bending effects more efficiently.
However, span capacity is not determined by shape alone. Steel grade, section depth, thickness, spacing, restraint and applied loads all influence performance.
Cost and Material Efficiency
C purlins can be economical for smaller buildings and simple roof structures. Their straightforward connections may also help keep installation requirements manageable.
Z purlins can offer material savings in larger buildings where a continuous system allows efficient use of steel. In some designs, they may permit wider spacing or lighter sections, but these benefits must be confirmed through structural calculations.
When comparing costs, consider the complete system rather than the price per section. Material, transport, connections, labour and maintenance requirements all contribute to the final cost.
C Purlin vs Z Purlin: Which Is Stronger?
Z purlins can offer better structural efficiency in multi-span roof systems because their overlapping connections create continuity across supports. This can improve bending performance and reduce deflection in suitable designs.
However, it is not accurate to say that every Z purlin is stronger than every C purlin. A deeper or thicker C purlin may carry more load than a smaller Z purlin. The result also depends on the direction of loading, lateral restraint, connection design and the risk of local or lateral-torsional buckling.
For a simple, single-span roof, a properly sized C purlin may perform very well. For a multi-span industrial roof, a lapped Z purlin system may provide greater efficiency.
The strongest option is the one that meets the required loads and deflection limits under a verified structural design. A qualified structural engineer should assess the roof layout, wind loads, purlin spacing and support conditions before final selection.
How to Choose Between C Purlins and Z Purlins?
Consider the following factors before choosing a purlin profile.
- Building Size and Roof Layout: C purlins may suit simple roof arrangements with individual spans. Z purlins are often useful for long roofs with several spans and repeated support points.
- Roof Loads and Span Requirements: Consider the weight of the roofing sheets, insulation, services and any additional loads. Wind uplift is also important, especially in exposed locations. The selected section must meet the required strength and deflection limits.
- Installation and Connection Details: Review how the purlins will connect to the main frame. C purlins may suit end-to-end arrangements, while Z purlins can be lapped where the design allows. Correct fastening and alignment are essential for both.
- Total Project Cost: Compare the cost of the complete roof framing system, including steel sections, fasteners, labour and installation time. A lower initial material cost does not always mean a lower overall project cost.
Can C Purlins and Z Purlins Be Used Together?
Yes, C purlins and Z purlins can be used in the same building when the structural design calls for different profiles in different areas.
For example, a roof may use Z purlins across its main multi-span sections and C purlins around certain edges or secondary framing locations. This approach can help meet specific connection or layout requirements.
However, the profiles should not be mixed without proper planning. Their dimensions, connection points and load paths must work together as intended. A structural engineer should verify the design before installation.
Conclusion
The choice between C purlins and Z purlins depends on the building’s structural needs, roof layout and budget. C purlins offer a practical solution for simple framing, smaller buildings and individual spans. Z purlins are often more efficient for multi-span industrial roofs because they can overlap at supports and provide structural continuity.
When comparing C Purlin vs Z Purlin, remember that neither profile is always stronger or more economical. The right choice depends on the section size, steel thickness, loading conditions and connection design. Selecting the correct profile through proper structural assessment helps create a safe, durable and cost-effective roofing system.